How To
Add a new Case Study
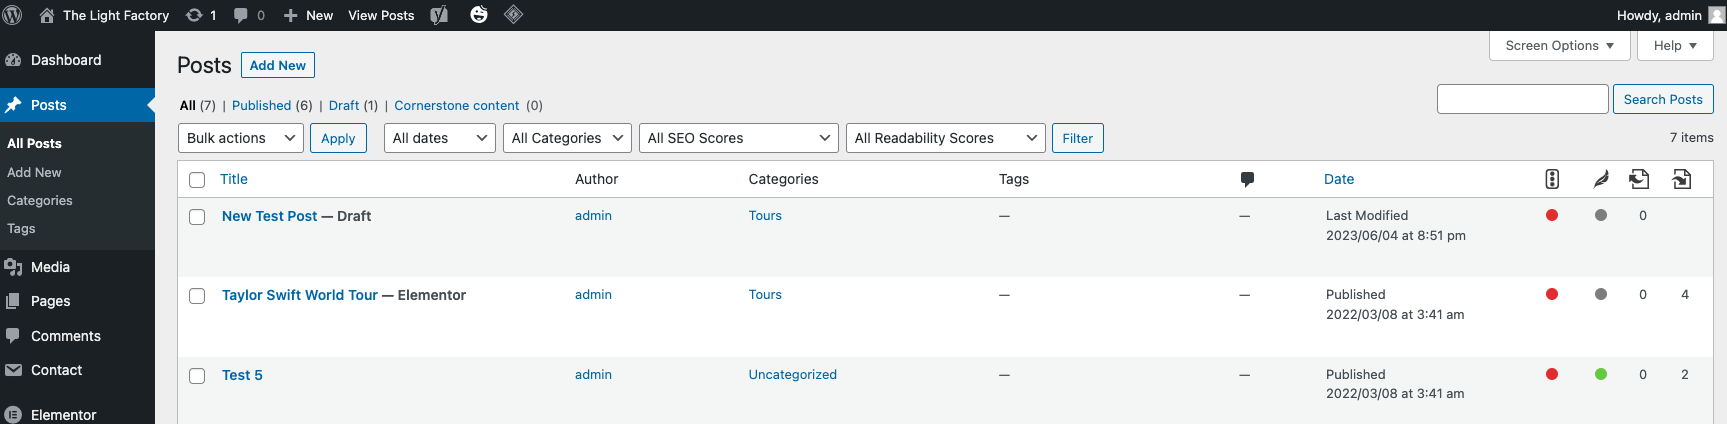
To add a Case Study -> Log into the WordPress backend admin area. You should see the dashboard like this…

The select “Posts” from the left menu.
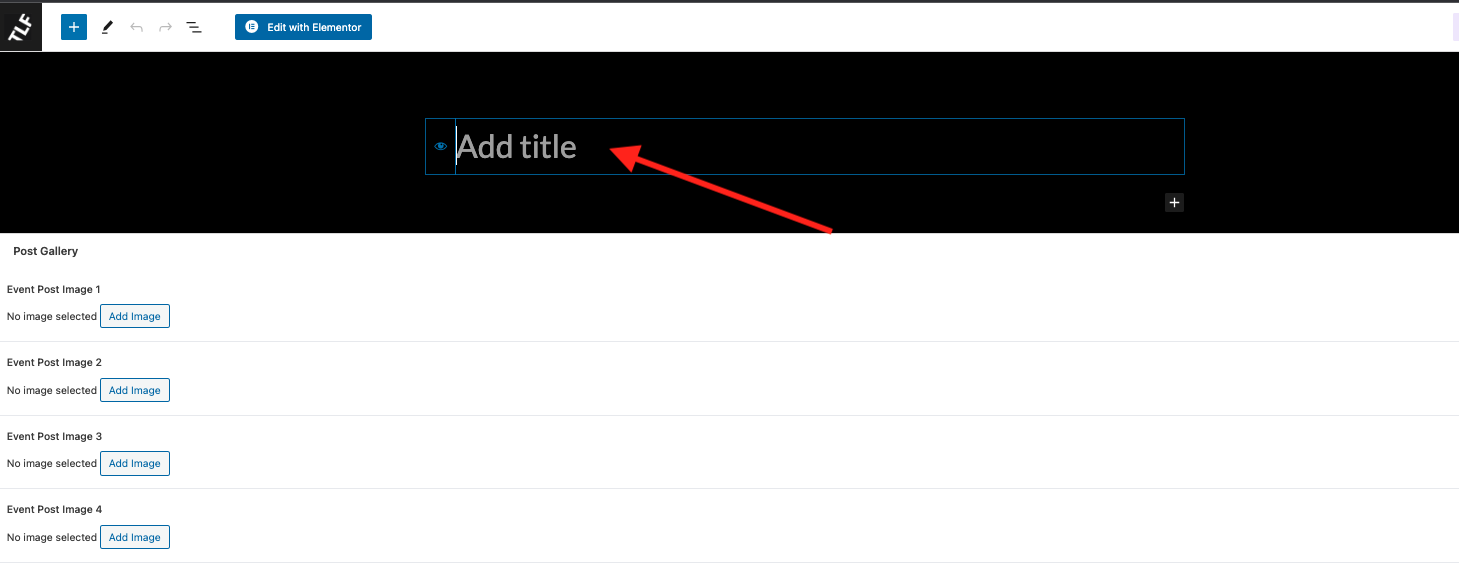
Click the “Add New” button next to the Posts title in the top left. First, click in the title block at the top to change/create the title for the case study.
Next, scroll down below the image section to the event information area. This is where you will fill in the information about the event you are showcasing. I recommend filling in all the information as thoroughly as possible.
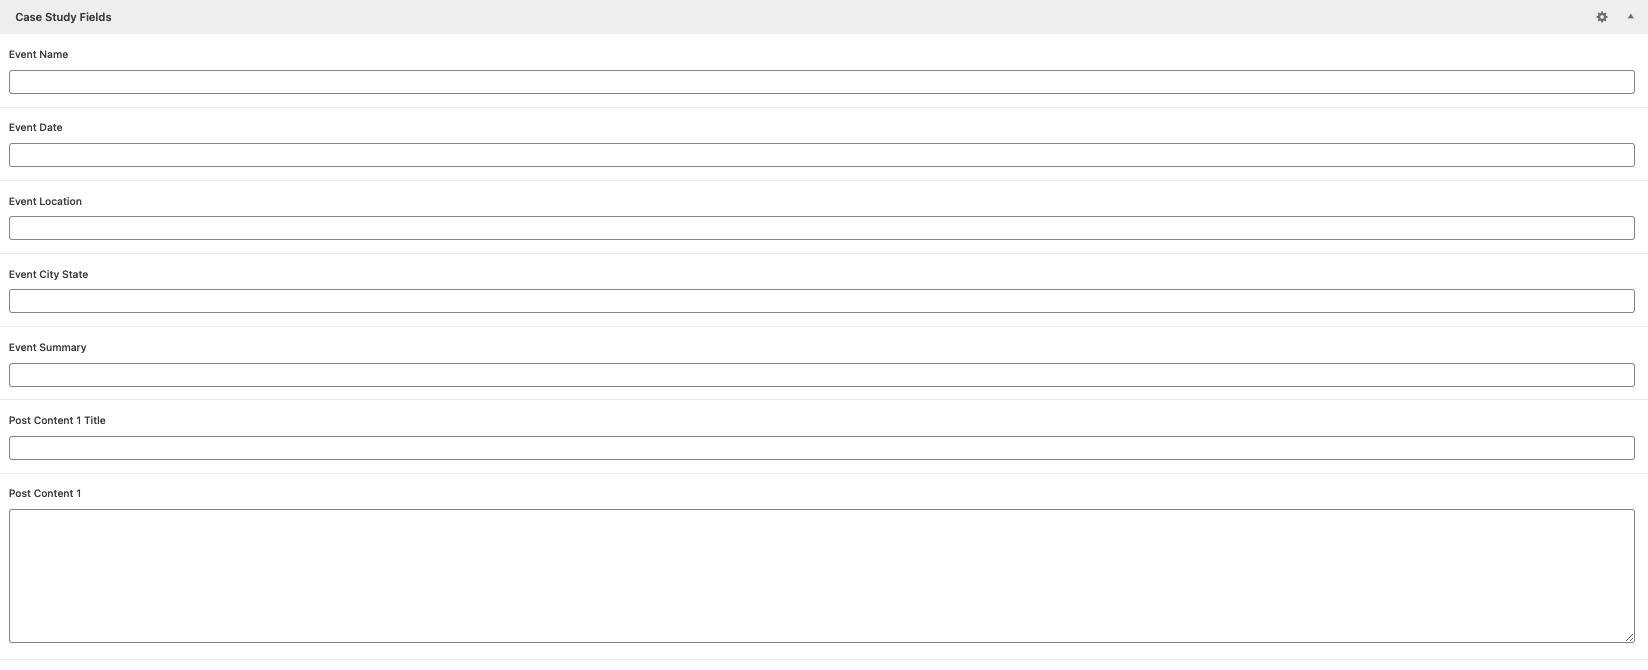
Event Name – self explanatory.
Event Date – the date(s) of the event.
Event Location – this should be the venue name or type.
Event City State – the city and state of event.
Event Summary – this is where you place the event summary. (a portion of this could be used for the Meta Description).
Event Content {#} Title – these are the titles that appear above the sub content sections.
Event Content {#} – this is where the sub content is placed.
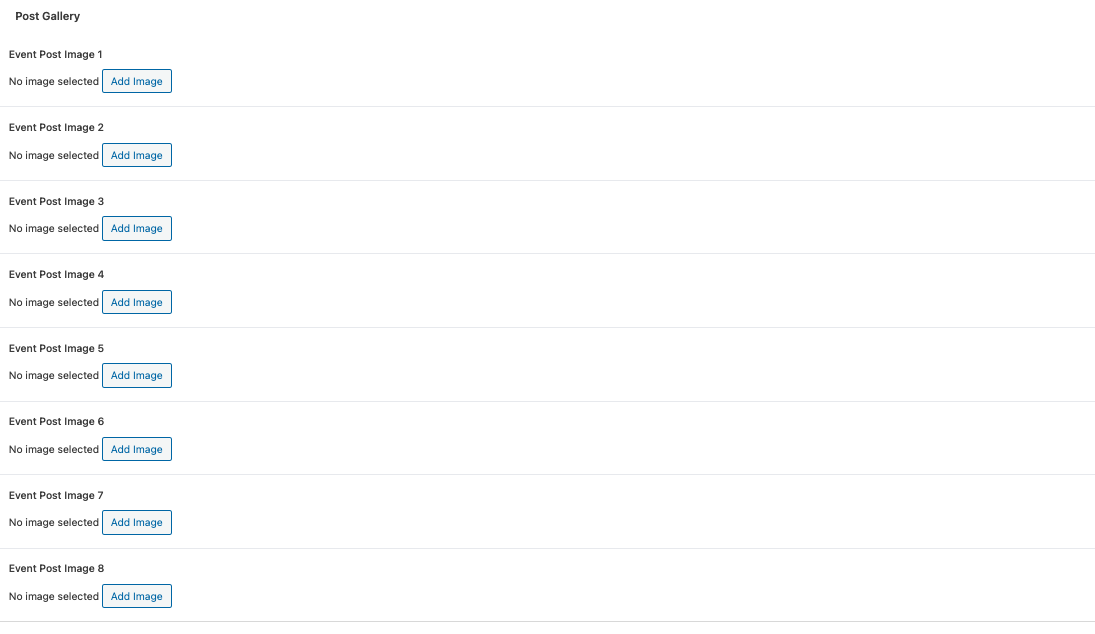
The final step is to add images. Up to 8 images can be added to the post. If you would like to add more than 8 images you can do that. Click here to learn more.
On the right-hand side there is a submenu for the post. Scroll down until you see “Featured Image”.

Click “Set featured image” area and select or upload the image you want to use as the main case study image. This will be the image that appears at the top of the post page as well as on the Case Study list page.
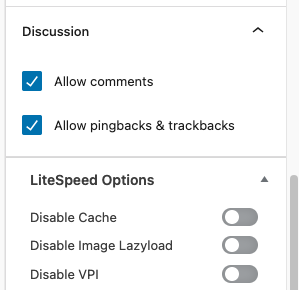
Scroll down a little further until you see “Discussion” area. I recommend deselecting both “Allow comments” and “Allow pingbacks & trackbacks”. This will keep visitors from making public comments about your event case study.
You will probably notice that when you’re finished you’re SEO “Needs Improvement”. Click here to learn how to improve the SEO of the post.
It is recommended that as you continue to make changes that you frequently click “Save draft” at the very top of the edit post page. If you are not ready to publish this case study yet, just click “Save draft”, then to exit click the TLF icon in the top left area of the edit post page. If you are ready to publish this case stud, then simply click “Publish” in the top right area of the edit post page. The case study will appear in the Case Study list page as the top left post. The case studies are currently set-up to show the most recent first in descending order.
How to add more images to Case Study
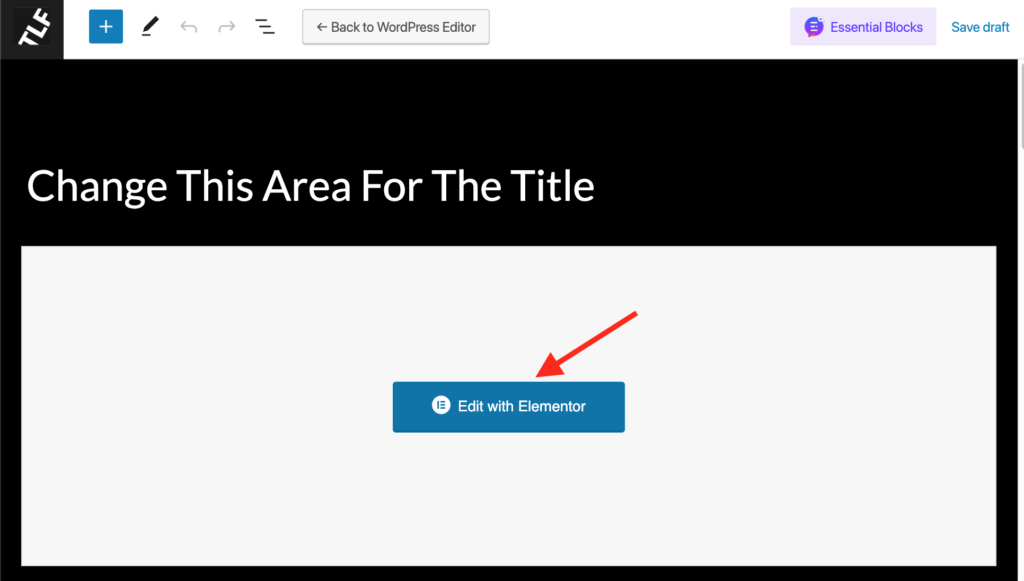
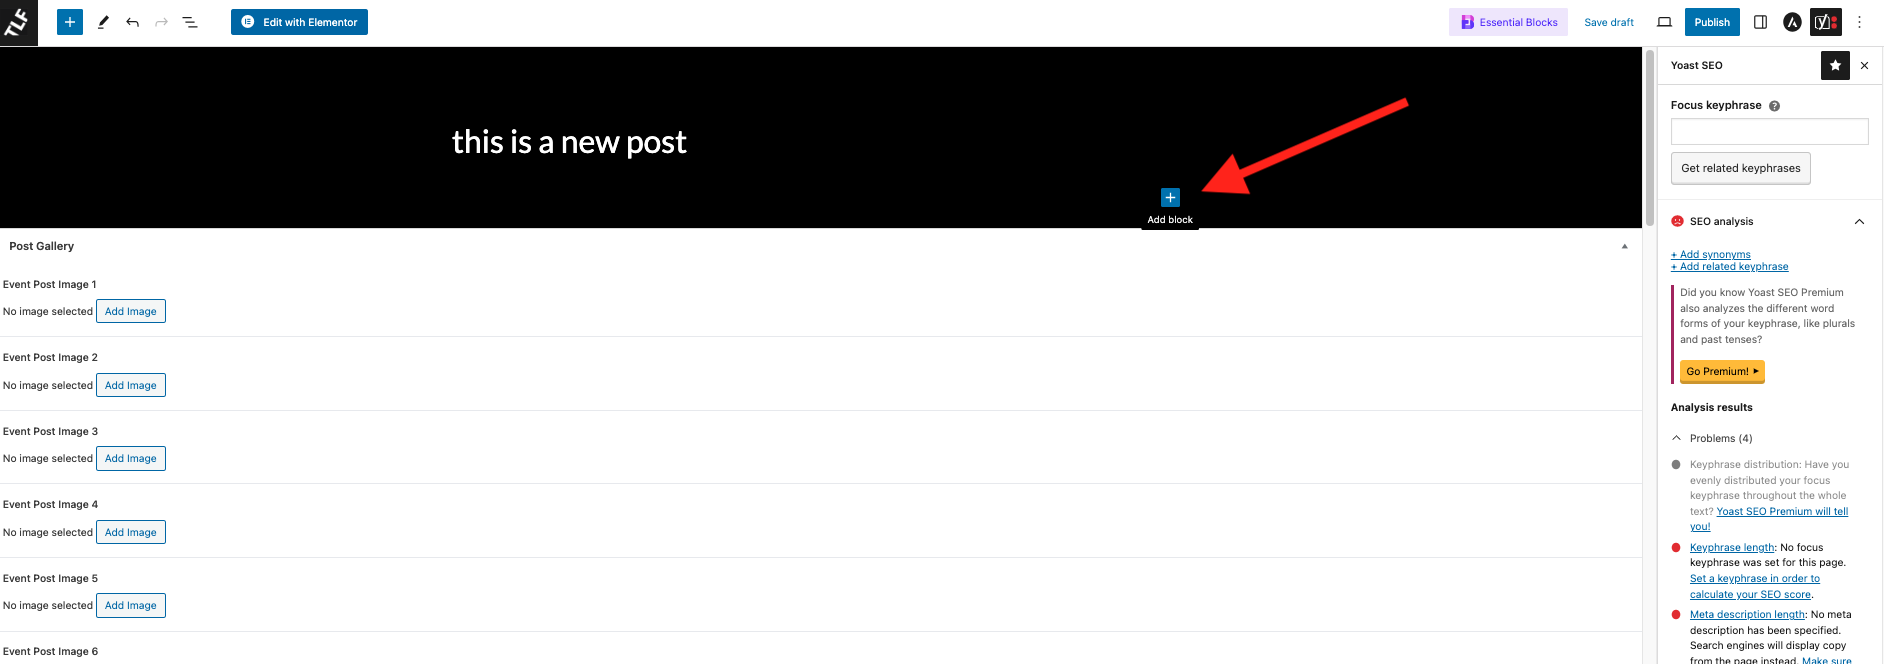
To add more images than the five available in the edit post page, after saving the draft, click the “Edit with Elementor” button just below the Title section.
Once in Elementor, scroll to the bottom of the page until you see a block like this.

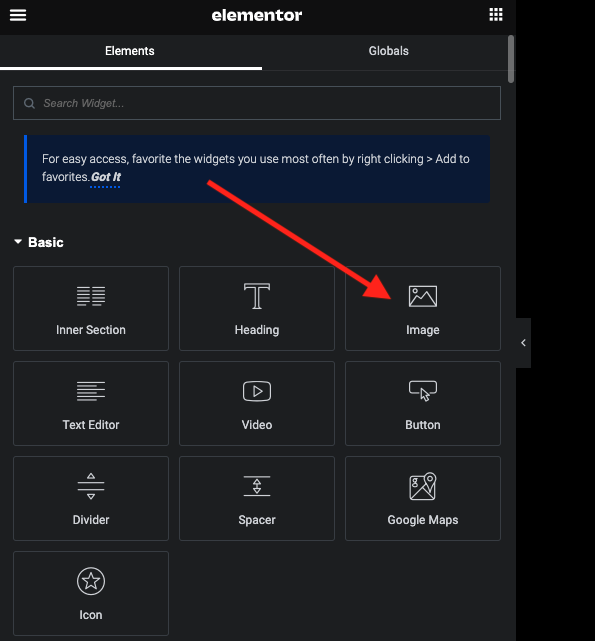
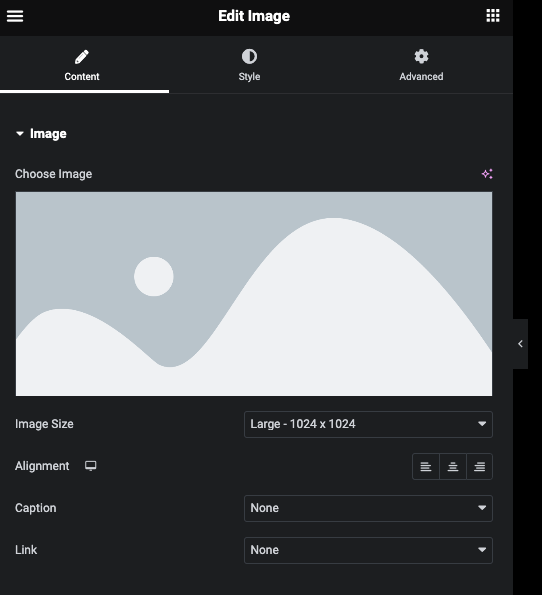
Click the “plus” button on the left to add a new section. Select whichever layout you prefer.If you just want to add a couple of single images, then just add image blocks from the left block menu selector, by dragging the “Image” block to the new section you just created. Then click the image placeholder in the editor on the left to select or upload a new image. You can select an image that has already been uploaded from the media library, or you can upload a new image.
Click the Upload tab, then click the select file button to open an upload file window. Make sure to click “Select” at the bottom right of the media library window once the image has been uploaded.

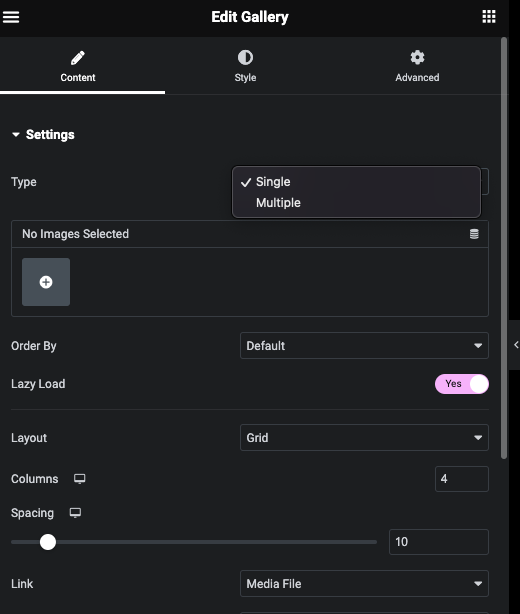
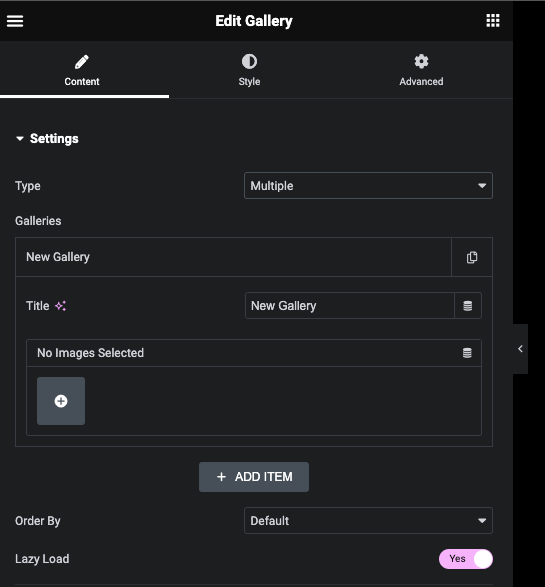
If you want to add a small gallery of images to the case study, you can select a single section and add “gallery” block to the section listed under “Pro” on the left block menu. Then select if you want to display a gallery of single images or multiple images. Single might be easier for this purpose. You can still select multiple images when in the media library even when using “single” gallery.
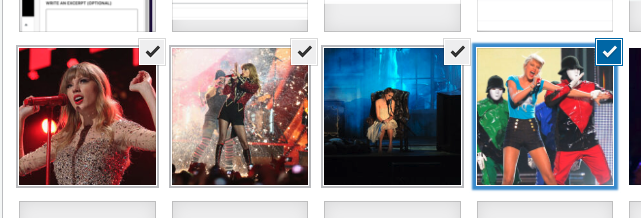
You can change the order in which the images are displayed simply by clicking in the image select area on the left which will open the media library again. You can drag and drop the order of the images in this window. Click Insert Gallery when finished. The gallery options allow for smaller images to be displayed as thumbnails, but when clicked, opens a lightbox to scroll through the images in the gallery to be seen fullscreen.
Do this as needed for each Case Study. You can follow the above steps to add more event content as well. Instead of adding an image block or a gallery block to the new section, you can add a text block.
When you are finished, click the Publish button in the bottom left corner of the Elementor window. If you aren’t ready to Publish yet, click the up chevron next the the word Publish and click “Save draft”. To exit Elementor when finished, click the hamburger in the top left corner of Elementor. Click “Exit”. This will take you back to the edit post page. From here you can either save the case study as a draft, or you can publish it to the live site.
How to improve the Case Study SEO
The SEO is probably not too bad to start. It is just that all of the content resides in custom fields, and not in the standard WordPress post fields. This can be fixed.
Let’s start by understanding what all is wrong with the SEO. On the right-hand side menu, click “Improve your post with Yoast SEO”. This will expand a list of items that will need attention.
SEO analysis
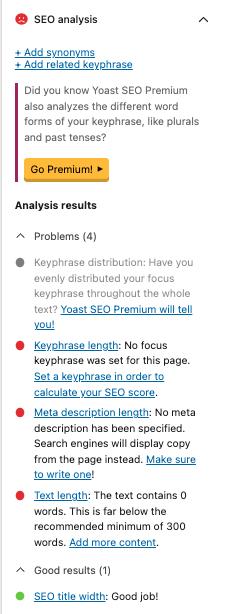
Keyphrase length – to fix this, scroll to the bottom of the page. To the left side you’ll see a “Yoast SEO” section. The first input field is the “Focus Keyphrase”. This is where you’ll enter your keyphrase. Your keyphrase should contain the slug in it as well. The slug is a little further down in the Google preview section. The slug is basically the same as the case study (post) title, just lower-cased and spaces replaced with hyphens. This is what appends the URL to take the viewer to the correct case study (post). To learn more about focus keyphrase click on the “?” icon next the “Focus keyphrase” title, or click here.
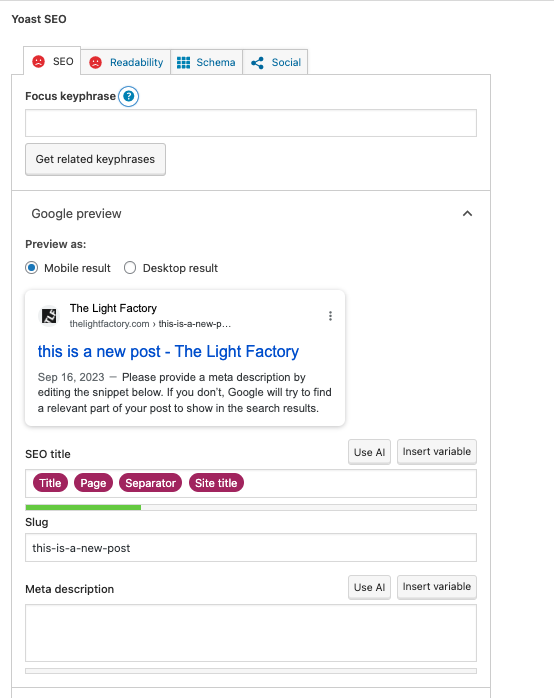
Meta Description length – the meta description is the part that is displayed in a search result as a brief description of what the post is about. This could be a snippet from your “Event Summary”, or it could be something different. Yoast SEO will make sure you have the correct number of characters to be effective.
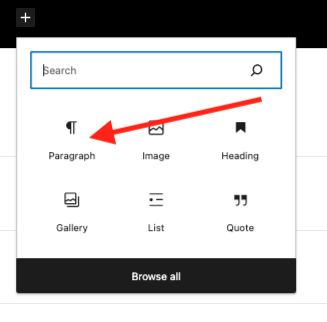
Text length – this is referring to the text length of the whole post. Unfortunately, since we are using custom fields to better control the layout of the post, there is nothing in the actual posts text. We can fix this. First, scroll back to the top. Under the Title, to the lower right, there is a plus icon. Click this icon and select Paragraph. In this section, you’ll need to place your content of the post. To start you could just copy and paste each of the “Post Content {#}” into here. This will not be visible to any users on the page or site. This is just to give the post some content that can be read by search engines to improve your SEO. Yoast will let you know if your content will need to be re-written or not. This may take some time to get correct.

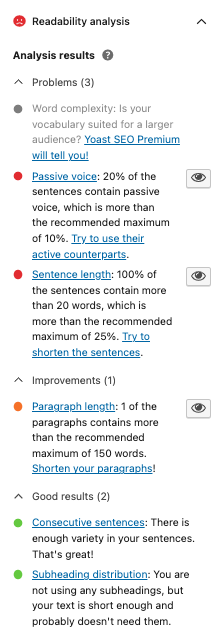
Readability Analysis
This will give you a more detailed look at your written content and give suggestions on how / what to improve. This, again, is referring to the content we just added at the top that will not actually be seen by anybody, except search engines. Since these sections can vary depending on what needs improvement, I will not break-down these sections. Allow Yoast to assist you with these elements to improve your SEO.
You may not get an excellent score for each of the posts, but it will help increase your SEO so they can be found when people search for keyphrases and words.
There are many more features in the Yoast section on the right that can help you increase the SEO for each of the posts you create. You can do as much or as little as you have time for. The more you do, the better the SEO.